
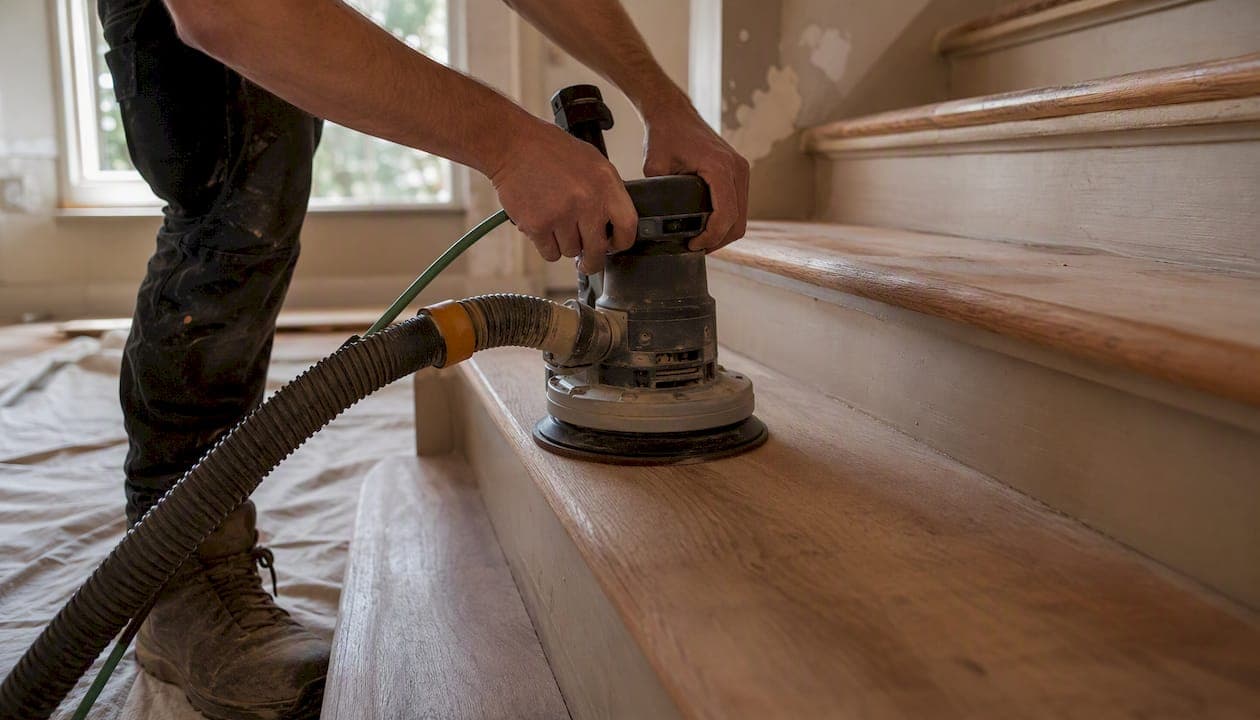
Refinishing a standard 13-step straight staircase in Toronto and the GTA typically runs in the low to mid thousands, with most homeowners landing in the common mid-range when the structure is sound and no major repairs are needed. Per step, expect to pay roughly between about forty and seventy-five dollars for a straightforward refinish. The short rule: if your treads are solid hardwood and the stringers show no rot or structural damage, refinishing almost always beats replacement on cost and disruption. If the treads are pine veneer, badly cupped, or you want a completely different stair profile, recapping or replacement is worth pricing out.
Thejackedinstallers offers free photo quotes and in-home estimates across the GTA. All work is done by WSIB-covered, insured tradespeople using dustless sanding systems, so you are not left with a house full of fine wood dust for a week.
Key takeaways
Refinishing a standard Ontario staircase costs $2,800–$5,500 for a typical 13-step straight staircase in the GTA, with per-step rates of $40–$75 and the final number driven by wood species, condition, layout, and finish choice.
| Point | Details |
|---|---|
| Typical GTA price range | A standard 13-step straight staircase refinish typically costs in the low to mid thousands, with most projects landing around common mid-range prices. |
| Per-step math | Budget $40–$75 per step for refinishing; multiply by your step count and add $500–$1,000 for mobilisation and minor repairs. |
| Best scenario for refinishing | Solid hardwood treads at least 3/4" thick with a sound structure; recapping or replacement is the better call when treads are thin or badly damaged. |
| Finish and VOC choice | Ask for the finish product name, VOC content, and coat count in writing; water-based finishes cure faster and suit households with sensitivities. |
| Thejackedinstallers next step | Send photos and step count for a free written quote covering dustless sanding, minor repairs, two coats of finish, and WSIB-covered labour across the GTA. |
Table of Contents
- What does staircase refinishing cost in Ontario per step and per project?
- What drives the price up or down on a refinishing quote?
- Refinish, recap, replace, or paint: which option fits your budget?
- What happens on-site and how long does it take?
- How do you get an accurate quote for stair refinishing in Ontario?
- Practical ways to lower your stair refinishing bill
- How Thejackedinstallers prices and delivers a refinishing job
- How long does a refinished staircase actually last?
- VOCs, ventilation, and finish safety for Ontario homeowners
- What most homeowners get wrong about stair refinishing
- Get a free quote for your GTA staircase
- Sources
What does staircase refinishing cost in Ontario per step and per project?
The per-step rate is the most useful starting point because it scales cleanly to your stair count. Local GTA specialist contractors commonly publish a range of $40–$75 per stair for a standard refinish on a straight staircase, with the lower end applying to straightforward oak treads in good condition and the upper end reflecting harder-to-sand species, tight access, or heavier prep work.
Worked examples for common Ontario stair counts
Those per-step figures cover sanding and finishing only. A realistic whole-project quote bundles labour, dust-control setup, minor tread repairs, stain, and two coats of finish. That is why GTA stair specialists list starting prices for refinishing from $3,500 as a project minimum, not a per-step extrapolation. A 13-step job at $57/step in materials and direct labour still needs mobilisation, protection of adjacent floors, and a final walk-through, which pushes the all-in total well above the raw step math.
For broader context, Toronto renovation guides place the full range for staircase work at $2,500–$15,000+, with simple refinishing at the affordable end and custom curved staircases or full rebuilds at the top.
Regional modifiers that shift the number
- GTA urban premium: Tight parking, elevator buildings, and condo access fees add $150–$400 to most jobs.
- Curved or L-shaped stairs: Expect a 30–50% premium over straight-stair rates because hand sanding is unavoidable on curved nosings.
- Carpet removal: Add $200–$500 depending on how many staples are embedded and whether the installer or a separate crew handles it.
- Landing included: A landing adds roughly $300–$600 depending on square footage.
Per-step calculator models show that tread material matters enormously when you move from refinishing into recapping or replacement: pine treads run around $49.90 per step installed, while oak treads jump to roughly $130 per step, and that gap compounds fast across 13–16 steps.
What drives the price up or down on a refinishing quote?
Stair refinishing costs more per square foot than refinishing a flat floor. The reason is straightforward: most of the sanding and finishing work is done by hand, which is slower and more labour-intensive than running a drum sander across an open room. Every variable below compounds on that base.
- Wood species and hardness: Oak sands predictably. Maple and Brazilian cherry take longer and dull belts faster, adding labour cost.
- Existing finish condition: Heavy polyurethane buildup or a previous paint job requires extra sanding passes. Bare or lightly finished wood is the easiest starting point.
- Stair layout: Straight stairs are the cheapest. L-shaped, U-shaped, and curved stairs require hand tools throughout, pushing labour up significantly.
- Nosings and decorative trim: Bullnose nosings and ornate profiles need hand-sanding by definition. Flat nosings are faster.
- Balusters and railings: Spindle removal and reinstallation, or railing refinishing, is priced separately. Railing work alone can add $1,000–$3,000 depending on material and scope.
- Carpet removal: Staple removal from treads is tedious. If a previous installer used a lot of staples, this step alone adds an hour or more per flight.
- Tread repairs: Cracked nosings, loose treads, or squeaky risers need fixing before sanding. Minor repairs are often bundled; structural repairs are quoted separately.
- Dust-control system: A dustless sanding setup costs more to operate than open sanding, but it protects your home and is worth asking about explicitly.
- Stain colour: Dark stains (ebony, dark walnut) require more sanding passes to achieve an even base. A lighter or natural finish is faster.
- Finish product: Water-based polyurethane dries faster (shorter project timeline) but costs more per litre than oil-based. Some clients specify Bona or Loba products, which carry a small premium.
Pro Tip: Before requesting a photo quote, photograph each tread from above and from the side, capture the nosing profile, and note the step count and whether there is carpet currently on the stairs. Installers who can see the existing finish condition and nosing shape give tighter estimates with fewer surprises on-site.
Refinish, recap, replace, or paint: which option fits your budget?
The right path depends on what your treads are made of and what condition they are in. Refinishing is generally the most cost-effective route when the underlying structure is sound; the decision gets more complicated when treads are thin, damaged, or made of a material that cannot be sanded.
Refinishing strips the existing finish, sands the tread surface, and applies fresh stain and topcoat. Works on solid hardwood treads with enough thickness remaining (typically 3/4" or more). Cost: $2,800–$5,500 for a standard straight staircase in the GTA.
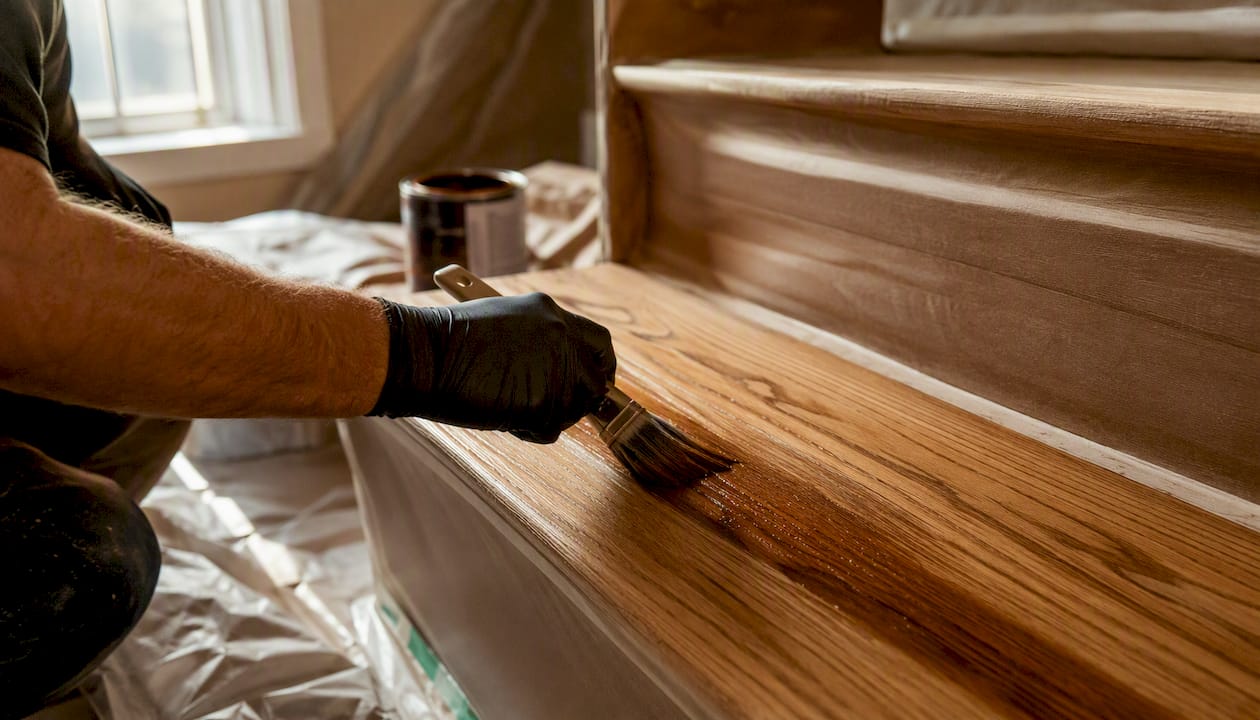
Recapping (tread caps/overlays) installs a new hardwood or engineered cap over the existing tread. Avoids heavy sanding and works over pine or damaged treads. GTA pricing starts around $4,900 for recapping alone, rising to $5,500+ when a full railing upgrade is included.
Full replacement removes and replaces treads, risers, and sometimes stringers. Necessary when treads are structurally compromised or when you want a completely different profile. Toronto ballpark: $6,500–$12,000 for tread and riser work, up to $22,000 for a full rebuild.
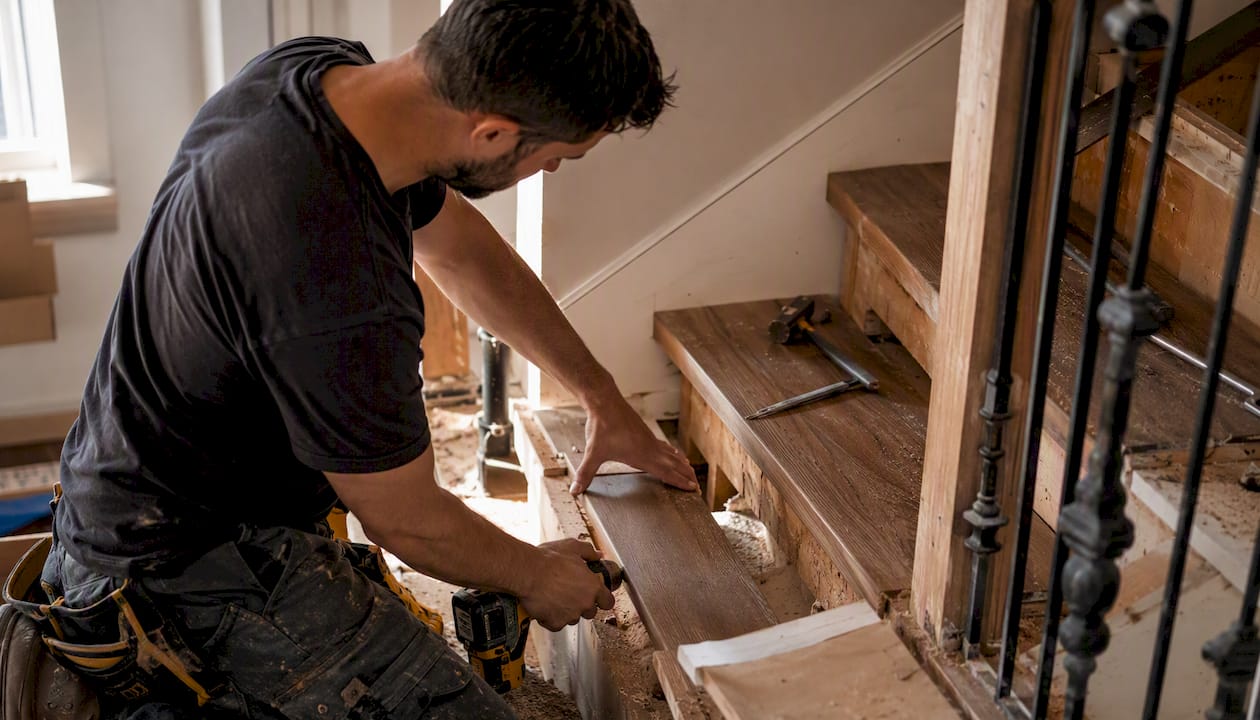
Painting is the lowest upfront cost and works on any wood species. Painting is usually cheaper initially, but staining tends to hold up better over time with fewer touch-ups, particularly on high-traffic treads. Painted stairs show scuffs and chips more visibly than a stained and varnished surface.
Vinyl or laminate overlays are a budget-friendly alternative when hardwood refinishing is not possible. Waterproof and durable, but they change the look and feel significantly and are not reversible.
Which route makes sense for your situation?
- Choose refinishing when treads are solid hardwood, at least 3/4" thick, and structurally sound.
- Choose recapping when treads are pine, thin, or too damaged to sand but the stringers are solid.
- Choose replacement when treads are cracked, cupped badly, or you want a different tread profile entirely.
- Choose painting when budget is the primary constraint and appearance is secondary.
- Choose overlays when the existing tread cannot support sanding or capping and you want a waterproof finish.
What happens on-site and how long does it take?
A standard straight-stair refinishing job on a 13-step staircase typically takes 2–4 business days from start to final cure, though the stairs are usually walkable (with care) within 24 hours of the final coat.
- Prep and protection (Day 1, morning): Adjacent floors and walls are masked. Furniture is moved. The installer assesses each tread for loose nails, squeaks, and any repairs needed before sanding begins.
- Carpet or cover removal (Day 1): If carpet is present, it is pulled and staples are removed from each tread. This step takes longer than most homeowners expect, particularly on older staircases with dozens of staples per step.
- Sanding and dust control (Day 1–2): Treads are sanded with a combination of orbital tools and hand sanders. A dustless system connects to a HEPA-filtered vacuum, capturing the majority of fine particles at the source. Nosings and corners are done entirely by hand.
- Minor repairs (Day 2): Loose treads are secured, cracked nosings are filled, and any squeaks are addressed before finishing begins.
- Staining (Day 2): Stain is applied and wiped to the agreed colour. Drying time is typically 4–8 hours depending on product and humidity.
- First coat of finish (Day 2–3): Water-based polyurethane dries in 2–4 hours; oil-based takes 8–12 hours. Light scuff-sanding between coats.
- Second (and sometimes third) coat (Day 3): Final coat applied. The staircase is left to cure.
- Curing and hardware reinstallation (Day 3–4): Full cure for water-based finishes takes 5–7 days; oil-based takes up to 30 days for full hardness. Handrails and any removed hardware are reinstalled after the final coat.
Before the crew arrives, homeowners should:
- Clear the staircase and the rooms directly above and below it.
- Arrange an alternate route between floors if possible (or plan to be out for the sanding day).
- Secure pets and children away from the work area.
- Confirm parking access for the crew's vehicle and equipment.
- Open windows on the day of staining and finishing to support ventilation.
How do you get an accurate quote for stair refinishing in Ontario?
A photo quote works well for straightforward straight staircases. For anything with curves, significant damage, or railing work, an in-home estimate is worth the extra step because hidden repairs are the most common source of budget surprises.
What installers inspect on-site:
- Tread thickness (to confirm there is enough material to sand without going through to the subfloor)
- Stringer condition and any signs of rot, cracking, or previous water damage
- Nosing profile (bullnose, square, or custom) and whether it can be sanded mechanically
- Underside access for securing loose treads from below
- Previous repairs, patches, or filler that may telegraph through a new finish
- Subfloor or structural movement that could cause squeaks to return after refinishing
Questions to ask every installer:
- What repairs are included in the quote, and what triggers an extra charge?
- Which finish brand and sheen level are you using?
- What is the warranty on labour and finish?
- Do you use a dustless sanding system, and what does that cover?
- What are your payment and deposit terms?
- Can you provide proof of WSIB coverage and liability insurance?
Red flags on estimates:
- A "per-step" price with no written description of what is included in each step
- A very low deposit (under 10%) with no written scope of work
- No mention of dust control or protection of adjacent surfaces
- Reluctance to provide WSIB or insurance documentation
- A quote delivered verbally with no written breakdown
Pro Tip: Send at least four photos: one of the full staircase from the bottom, one close-up of a tread surface, one of the nosing profile from the side, and one of any visible damage. Include the step count and whether carpet is currently on the stairs. Homeowners who provide this information upfront get much tighter photo quotes and reduce the chance of a re-visit for unknowns.
You can also verify contractor reputation and read project reviews on HomeStars before committing to a quote.
Practical ways to lower your stair refinishing bill
Savings on a stair refinishing project come from planning, not from cutting corners on the finish itself. The finish is what you walk on every day for the next decade.
- Time the job to shoulder seasons: Spring and autumn tend to be less busy for GTA flooring contractors. Booking in March or October rather than June or December can sometimes yield a better rate or faster scheduling.
- Bundle with adjacent flooring work: If you are also refinishing or installing hardwood on the main floor, combining the jobs into one mobilisation cuts the setup and teardown cost. Many contractors offer a reduced rate when stair work is part of a larger floor project.
- Choose a mid-tier finish: Premium European finishes like Bona Traffic HD or Loba 2K are excellent, but a quality domestic water-based polyurethane at a lower price point performs well on residential stairs. Ask what the installer recommends for your traffic level.
- Limit railing changes: Railing and baluster work is priced separately and adds up fast. If the existing railing is structurally sound, refinishing it rather than replacing it saves $1,000–$3,000.
- Accept a lighter stain: Dark stains require more sanding passes to achieve an even colour. A natural or light stain is faster to apply and reduces labour time slightly.
- Supply your own stain colour: Some installers will apply a client-supplied stain if it is a compatible product. Confirm this upfront and get it in writing.
The trade-off when cutting costs: a lighter stain shows less depth; a mid-tier finish may need recoating sooner; skipping railing work leaves a visual mismatch between a fresh tread and an aged railing. None of these are wrong choices, but go in with clear expectations.
Pro Tip: Use your photos and measurements to get at least three written quotes before committing. A quote that is significantly lower than the others almost always means something is excluded. Ask each contractor to itemise what is and is not included so you are comparing the same scope.
How Thejackedinstallers prices and delivers a refinishing job
A professional quote from Thejackedinstallers covers more than sanding and a coat of finish. The written scope includes site prep and floor protection, dustless sanding, minor tread repairs (securing loose treads, filling small cracks), staining to the agreed colour, two coats of finish with a scuff-sand between coats, and a final walk-through before sign-off.
Project examples from the portfolio include a 700 sq ft engineered hardwood installation completed in a single day in Milton, demonstrating the kind of site management and pace that keeps disruption short. Stair renovation work in Oakville and across the GTA follows the same approach: clear scope, clean site, no surprises on the invoice.
Trust signals to request from any installer, including Thejackedinstallers:
- Written WSIB clearance certificate and liability insurance documentation
- Photo references from comparable stair projects
- Written scope of work with finish brand, sheen, and coat count specified
- Warranty terms in writing (labour and finish separately)
- Free on-site or photo estimate with no obligation
How long does a refinished staircase actually last?
A properly refinished hardwood staircase, using a quality polyurethane topcoat applied over well-sanded treads, generally holds up for several years before the finish shows enough wear to warrant another full refinish. Households with higher foot traffic or pets tend to require refinishing sooner; those with lighter use can expect a longer interval.
The finish wears first on the nosing of each tread, which takes the most direct foot impact. Spot-coating the nosings every few years extends the life of the full refinish significantly. A full re-sand and recoat is needed when the finish has worn through to bare wood, because at that point the wood itself begins to absorb dirt and moisture.
Oil-based polyurethane is harder and more scratch-resistant than water-based, but it yellows over time, which is noticeable on lighter stains. Water-based finishes stay clear and dry faster, but may need a third coat on heavily trafficked stairs to match the durability of oil-based. The choice between them is a genuine trade-off, not a clear winner.
VOCs, ventilation, and finish safety for Ontario homeowners
Stair finishing products release volatile organic compounds (VOCs) during application and curing. Oil-based polyurethanes are the higher-VOC option, with a strong solvent smell that can linger for several days. Water-based finishes have lower VOC content and dry faster, but still require ventilation during and after application.
Ontario's environmental regulations align with national standards under the Canadian Environmental Protection Act, which sets VOC limits for architectural coatings. Most professional-grade water-based finishes used by GTA contractors fall within these limits. If you or a family member has respiratory sensitivities, ask your installer specifically about the VOC content of the finish they plan to use and request the product's safety data sheet.
Practical steps for the finishing days:
- Open windows on the floor where work is happening and on the floor above.
- Run a box fan exhausting outward from a window near the staircase.
- Keep children, pets, and anyone with asthma or chemical sensitivities out of the home during application and for at least 24 hours after the final coat.
- Water-based finishes are typically safe for light foot traffic within 24 hours; full cure (and safe return to normal use) takes 5–7 days.
- Oil-based finishes need 48–72 hours before light foot traffic and up to 30 days for full cure.
Low-VOC and zero-VOC finish options exist and are worth asking about, particularly for households with young children. They perform well on residential stairs and the price difference is modest.
What most homeowners get wrong about stair refinishing
The most common mistake is treating a stair refinishing quote the same way you would treat a quote for painting a room: lowest price wins. Stair refinishing is a multi-day, skilled trade job where the prep work is invisible and the finish is what you see and feel every day for the next decade. A quote that skips dustless sanding, bundles no repairs, and uses a bargain-bin finish will look fine for about 18 months and then start to peel at the nosings.
The second mistake is underestimating the repair scope. Stairs that have had carpet on them for 10 or 15 years almost always have staple holes, surface gouges, and at least one or two loose treads. A thorough installer scopes all of that before quoting. One who does not is either planning to charge extra on-site or planning to skip the repairs entirely.
The third, and most overlooked, point: the finish choice matters more than the stain colour. Homeowners spend a lot of time picking between dark walnut and provincial, and almost no time asking about the finish product, coat count, or sheen level. The finish is what protects the stain. A good stain under a thin, single-coat finish will look worn within two years on a busy staircase.
Get a free quote for your GTA staircase
Stair refinishing in the Toronto and GTA area does not need to be a drawn-out, dusty ordeal. Thejackedinstallers covers the full GTA with free photo quotes and in-home estimates, WSIB coverage, liability insurance, and dustless sanding on every job. The written scope you receive before work begins is the price you pay when it is done.

For homeowners bundling stair work with a broader floor project, the hardwood installation service covers both in a single mobilisation, which keeps costs down and the job moving. Project photos from completed GTA stair and floor work are available to review before you commit to anything.
Send four photos of your staircase (full view from the bottom, close-up of a tread, nosing profile from the side, and any visible damage), your step count, and whether carpet is currently on the stairs. A written estimate comes back fast, with no obligation. Reach Thejackedinstallers at Thejackedinstallers to get started.
Sources
- Staircase Remodel Cost in Ontario, CA (2026) — Free Calculator | HomeCostCalc
- Staircase Renovation Toronto: Costs, Types & Expert Guide
- Recognizing when to refinish vs. replace hardwood — District Floor Depot
Regional pricing varies across Ontario: a job in downtown Toronto with condo access and paid parking will cost more than the same scope in a suburban Mississauga home with a driveway. Always request an on-site or detailed photo quote specific to your address before budgeting.
Recommended
- Laminate Flooring Installation in Ancaster — The Jacked Installers Inc
- Stair Installation & Refinishing GTA | Strong Steps, Clean Finishes — The Jacked Installers Inc
- Engineered Hardwood Installation Milton ON | 700 Sq Ft One-Day Install | The Jacked Installers — The Jacked Installers Inc
- Hardwood Installation Grimsby — The Jacked Installers Inc